
Last updated November 2, 2026
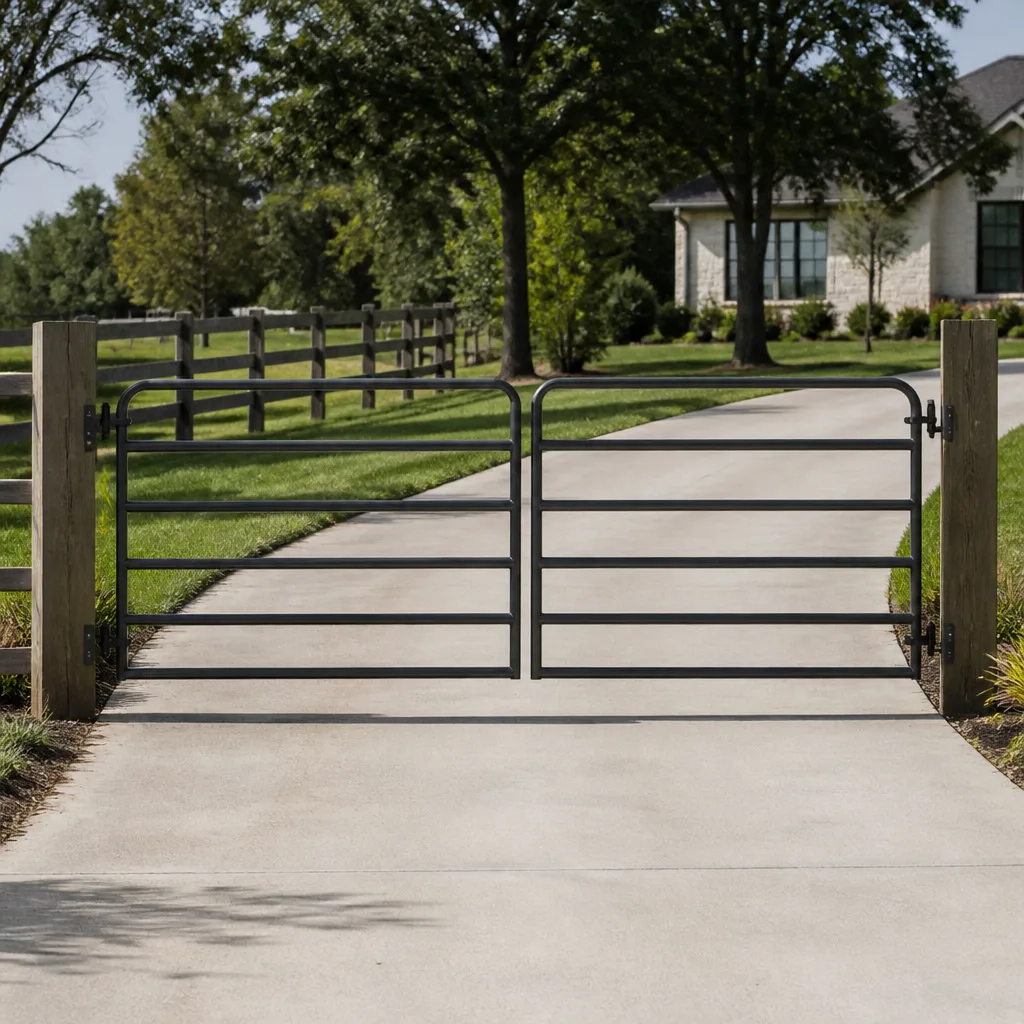 Farm & ranch
 Wrought iron
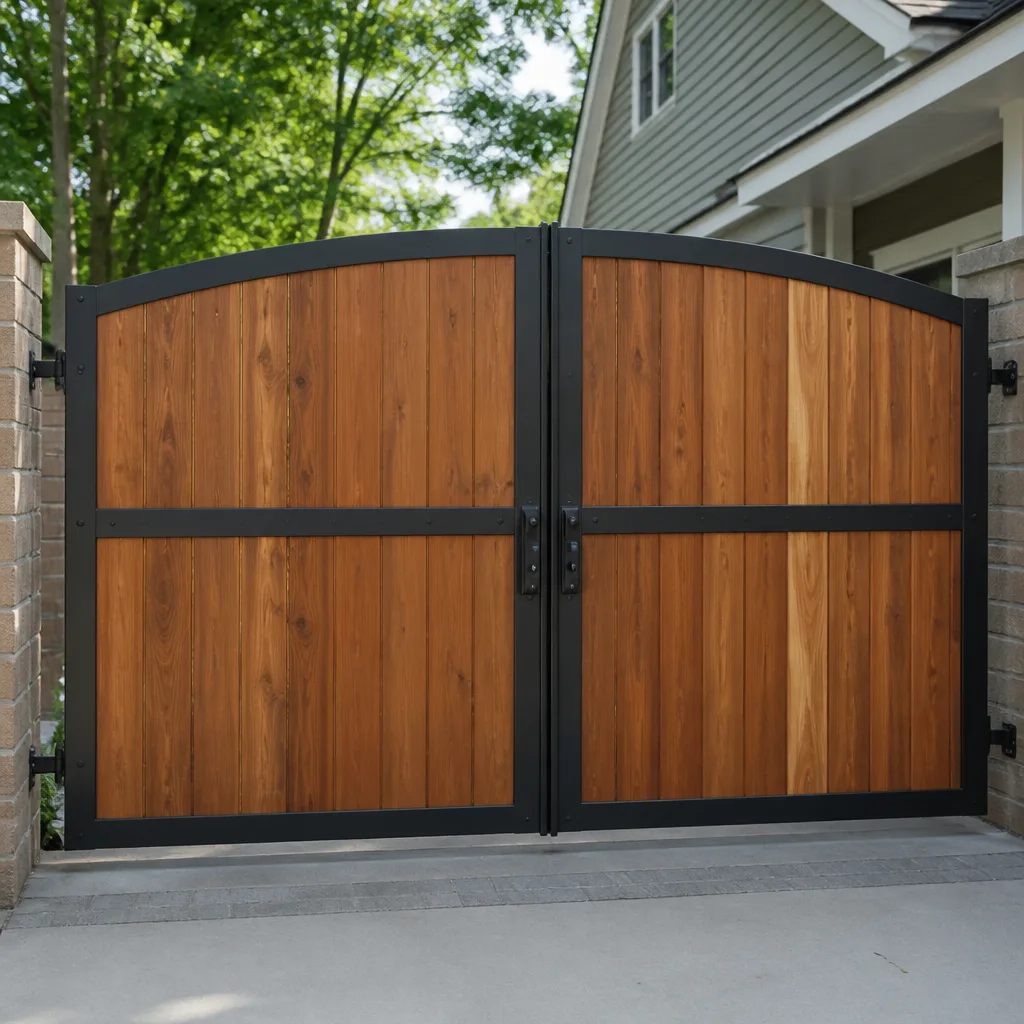 Wood & steel frame
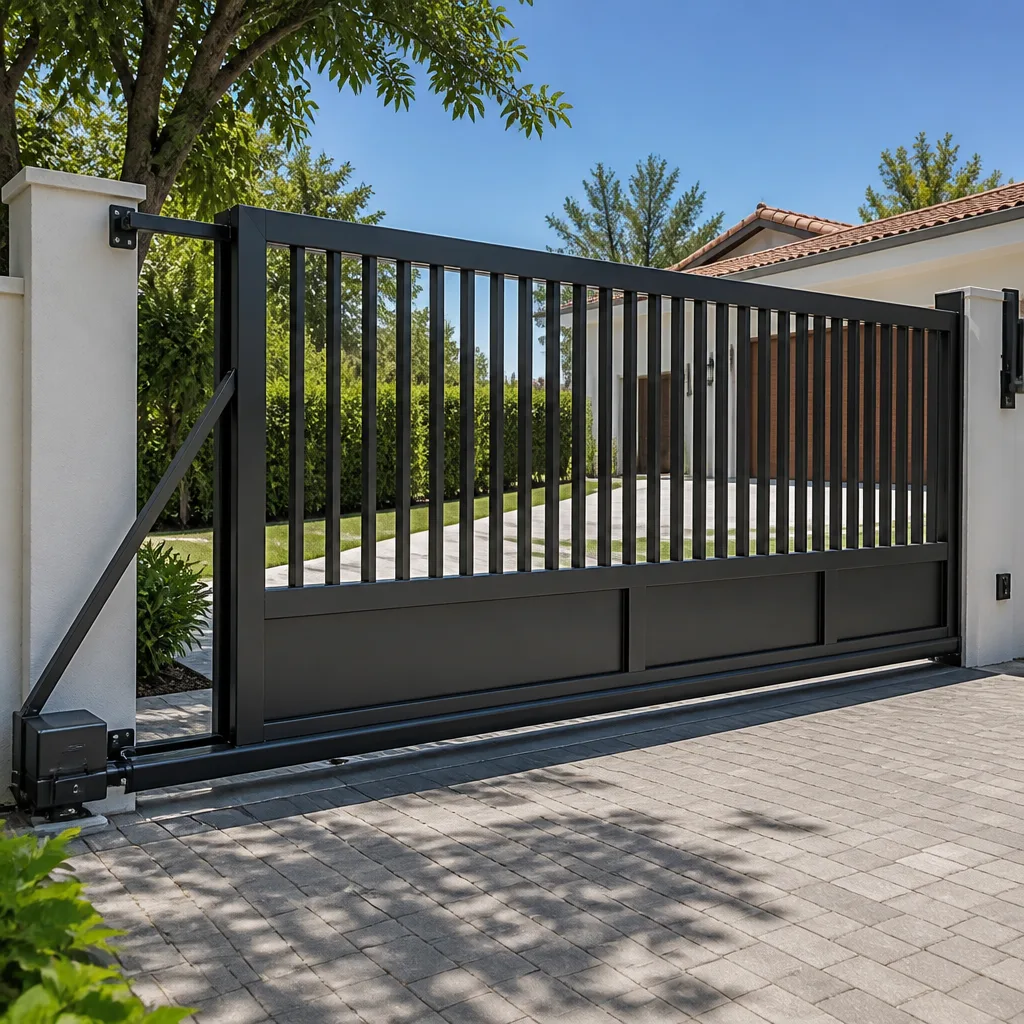 Sliding driveway gates
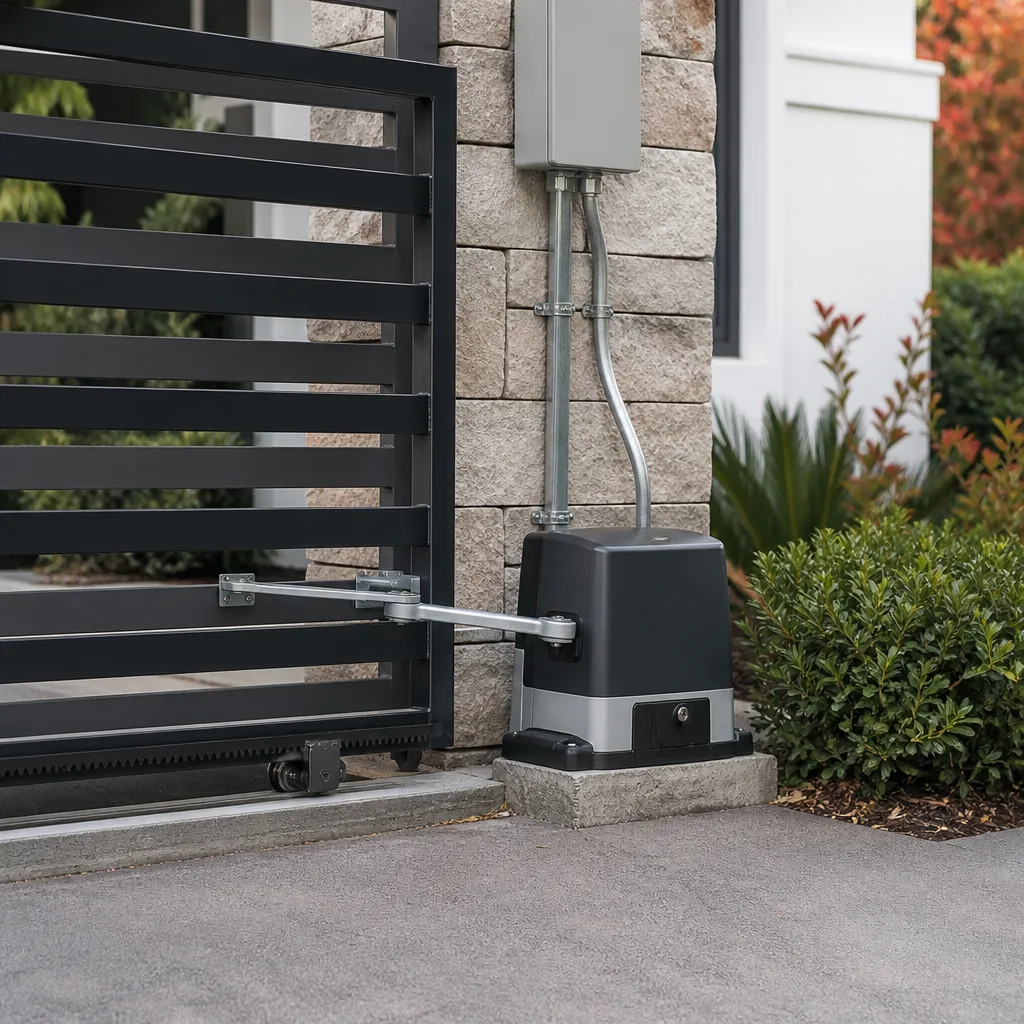 LiftMaster operators
Free on-site gate assessment - hinges, posts, and your LiftMaster or Nice gate operator checked before anything is quoted
The assessment is free and the quote is the invoice.
Get your free estimateGate Repair Maintenance Checklist for Rancho Bernardo Homeowners
Most homeowners lubricate the wrong part. They spray the chain on a slide gate operator when the real wear point is the drive gear, which runs dry because it’s sealed and forgotten until it strips. In Rancho Bernardo, where swing gates on sloped driveways and slide gates on canyon-side properties face constant stress from our dry, dusty climate, that kind of misplaced effort costs homeowners thousands in avoidable repairs. This guide gives you a system-specific maintenance sequence: what to check, in what order, and what a failing component actually looks and sounds like before it strands you outside your own gate. For more guides & resources, explore our blog.
Quick Answer
A proper gate maintenance checklist in Rancho Bernardo separates swing gates, slide gates, and barrier arms into distinct inspection sequences. The six mechanical checkpoints that predict most failures before they happen are: chain or belt tension, drive gear wear, hinge torque, ground clearance, safety sensor alignment, and control board condition. Run through this checklist quarterly for high-wear items and annually for the rest, which takes about 25 minutes once you know what to look for.
Styles & brands we work with
- Wrought iron
- Wood & steel frame
- Farm & ranch
- Sliding driveway gates
- LiftMaster operators
Table of Contents
- Swing Gate Actuator Checklist: The 8-Point Sequence
- Slide Gate Operator Checklist: Where Real Wear Happens
- Barrier Arm Checklist for HOA and Commercial Properties
- The Six Mechanical Checkpoints That Predict 80% of Gate Failures
- How to Test Safety Reversal Correctly (Most People Get a False Pass)
- Control Board Inspection Without Opening the Panel
- Quarterly vs. Annual Maintenance: A Sane Schedule
- Common Mistakes to Avoid
- When to Call a Professional
- Frequently Asked Questions
Swing Gate Actuator Checklist: The 8-Point Sequence
Swing gates are the most common gate type across Rancho Bernardo’s hillside neighborhoods, from Westwood to The Trails. They operate with one of two actuator styles: a linear arm that pushes and pulls the gate leaf, or an articulated arm that folds as the gate opens. Both styles share the same failure points, and both benefit from this exact sequence.
Here is the inspection order we follow, because it mirrors how wear actually progresses on a swing system:
- Visual sweep of hinge bolts and mounting brackets. Walk the gate leaf and look at every bolt head. A bolt that has backed out even a quarter turn lets the gate leaf sag, which changes the load on the actuator. On a slope-facing Rancho Bernardo property, this sag compounds fast.
- Torque check on hinge bolts. Use a socket wrench on each hinge bolt. If any bolt turns without resistance, tighten it now. Gates that weigh 400 pounds or more put constant shear force on these fasteners.
- Actuator mounting point inspection. The actuator attaches to the gate at a welded bracket. Look for hairline cracks in the weld, which usually start at the edge of the weld bead. We see this regularly on FAAC and BFT swing systems that are ten or more years old.
- Manual release operation test. Disengage the actuator using the release mechanism. Swing the gate through its full arc by hand. It should move smoothly with no binding, grinding, or dead spots. If it binds, the problem is the gate structure, not the operator.
- Chain or screw drive inspection on the actuator itself. If your actuator has a visible chain or screw, check for rust, slack, or missing lubrication. A dry screw drive on a Linear swing actuator will announce itself with a chattering sound during operation.
- Limit switch verification. Run the gate and watch where it stops. The gate should stop firmly without slamming into the open or closed stops. If it bounces or slams, the limit switches need adjustment, which is a five-minute fix when done before damage occurs.
- Obstruction sensor test on both sides. Place a non-metallic object like a rolled towel in the closing path. The gate must reverse immediately on contact. Test this on the leading edge and the trailing edge of the gate leaf.
- Ground clearance check. Measure the gap under the gate at three points: hinge side, middle, and latch side. On Rancho Bernardo driveways with a slope, a difference of more than half an inch between these points means the gate leaf is racking.
If your swing gate is on a Viking system, the actuator has an internal limit switch assembly that you cannot see without opening the housing. In that case, skip step 5 and listen instead: a healthy Viking actuator runs quiet, and any grinding sound means the internal gear train needs attention.
Slide Gate Operator Checklist: Where Real Wear Happens
Slide gates are common on Rancho Bernardo’s larger lots and on any property where a driveway slopes up from the street and a swing gate would strike the ground. A slide gate rides on a metal track, driven by a chain or belt connected to an operator mounted on a concrete pad. This is where the lubrication myth does the most damage.
The chain on a slide gate operator does need lubrication, but nowhere near as much as the drive gear inside the operator housing. That gear is sealed, runs dry, and is the single most common failure point on slide systems. When it strips, the gate moves halfway and stops. The homeowner calls it a motor problem. It is almost never the motor.
Here is the slide gate inspection sequence in order:
- Track inspection and debris clearing. Run a flat scraper along the inside of the V-track groove. Remove gravel, sand, and compacted dust. Rancho Bernardo’s granite-heavy soil produces fine grit that grinds down wheels and track rollers faster than coastal communities see.
- Wheel and roller check. Inspect each wheel or roller on the gate’s bottom and guide assemblies. A flat spot on a roller means the gate does not roll, it thumps. Replace flat-spotted rollers before they chew up the track.
- Chain tension and lubrication. Press down on the chain at its midpoint. Proper tension allows roughly half an inch of deflection. If the chain sags more than an inch, it can jump the sprocket. Apply a light chain lubricant, not grease – grease collects dust and creates an abrasive paste.
- Drive gear inspection (through the access port). Many slide operators have a small access cover or viewing port. If yours does, shine a flashlight in and look at the gear teeth. If the teeth are pointed instead of flat-topped, the gear is worn and on borrowed time.
- Sprocket alignment check. The chain should enter and exit the sprocket dead straight. Run the gate and watch the chain from the side. Any wobble means the sprocket shaft or the operator mounting bolts are loose.
- Limit switch and stop block verification. The gate should stop with the leading edge centered on the receiver post, not slamming into the end stop. A gate that hits the end stop hard on every cycle will eventually crack the operator mounting pad.
- Photo-eye and safety loop test. For slide gates, the photo-eyes are usually mounted on the fence line near the gate opening. Block them with a piece of cardboard and run the gate. It should not close. Then test the physical reversal by placing an object in the path.
- Ground rail and guide truck inspection. The top guide rollers keep the gate from tipping. Grab the top of the gate leaf and try to rock it. Movement of more than a quarter inch means the guide truck bearings need replacement.
Slide gate systems in Rancho Bernardo tend to be LiftMaster, FAAC, or BFT units, and each has a slightly different access layout for the drive gear. If you cannot find the inspection port on your unit, a quick call to Gate Repair in Rancho Bernardo will save you the frustration of misdiagnosing what you cannot see.
Barrier Arm Checklist for HOA and Commercial Properties
Barrier arms show up at Rancho Bernardo’s gated communities, HOA entry points, and commercial parking lots. They are simpler machines than swing or slide gates, which means homeowners and property managers often under-maintain them until the arm snaps or the operator fails during peak traffic hours.
A barrier arm has four main components: the operator housing with the motor and gearbox, the boom arm itself, the spring or counterweight system, and the loop detectors cut into the pavement. Here is the inspection order:
- Boom arm balance check. Disconnect the boom from the operator and hold it in the level position. It should stay approximately level under its own balance. If it drops, the spring tension is wrong, which forces the motor to work against gravity on every cycle.
- Spring and counterweight inspection. Look at the tension spring inside the operator housing (or the external counterweights on heavier arms). A cracked spring or a shifted counterweight changes the arm’s balance and accelerates gear wear.
- Arm attachment bolt check. The boom attaches to the operator shaft with two or more bolts. These bolts loosen over time from the constant up-and-down cycling. Retorque them every quarter.
- Loop detector test. Drive a vehicle over the exit loop and verify the arm raises automatically. Then test the safety loop: with the arm lowering, drive over the loop and confirm the arm reverses. A failed safety loop means a car roof or windshield takes the hit.
- Edge sensor on the arm itself. Many barrier arms in Rancho Bernardo HOAs are equipped with a pressure-sensitive edge strip along the bottom of the boom. Run your hand along it and check for cracks or peeling, which mean the safety signal is compromised.
- Housing seal check. The operator housing should be closed tight with no gaps at the seams. Dust, spider webs, and moisture ingress kill barrier arm electronics faster than mechanical wear does.
HOAs in Rancho Bernardo often have multiple barrier arms at different entry and exit points. We recommend keeping a simple paper or digital log per arm, because a unit that cycles 500 times a day reaches mechanical limits five times faster than one that cycles 100 times.
The Six Mechanical Checkpoints That Predict 80% of Gate Failures
Across every gate type, there are six mechanical checkpoints that reveal impending problems before they become full failures. We have watched these six items predict the overwhelming majority of service calls across Rancho Bernardo and the surrounding area.
1. Chain or Belt Tension
A loose chain on a slide gate jumps the sprocket. A too-tight chain destroys the operator’s output shaft bearing. Both failures are preventable with a $15 chain tension check every quarter. Belt-driven systems have their own tell: a belt that slips under load makes a high-pitched chirp during the start of each cycle.
2. Drive Gear Wear
The internal drive gear is the highest-wear component on any electric gate operator. It is sealed, runs dry, and never gets inspected by homeowners who do not know it exists. On LiftMaster slide operators, a worn drive gear produces a grinding sound from the housing. On Viking swing actuators, it produces a whine that changes pitch during the cycle. Replace the gear before it strips, not after.
3. Hinge Torque
On swing gates, hinge bolts are the foundation of the entire system. A sagging gate leaf puts lateral load on the actuator, which shortens its life by years. Check hinge bolt torque every quarter, and listen for a creaking sound when the gate moves, which indicates metal-on-metal wear that lubrication alone will not fix.
4. Ground Clearance and Wheel Condition
A slide gate that drags on its track is working against friction every single cycle. A swing gate that scrapes the driveway is pushing against the ground instead of pivoting cleanly. In both cases, the operator is the victim of the structural problem. In Rancho Bernardo, where many driveways have a noticeable grade, ground clearance changes over time as hinges wear and wheels flatten. Measure it, note it, and track it.
5. Safety Sensor Alignment
Photo-eyes get bumped, knocked out of alignment by landscaping trimmers, and covered in dust. A misaligned photo-eye either prevents the gate from closing (which is safe but annoying) or gets ignored and bypassed by a frustrated homeowner (which is dangerous). Check alignment every quarter, and clean the lens with a dry cloth, not a wet one that leaves residue.
6. Control Board Condition
The control board is the brain of the system, and it fails in predictable ways: power surges, moisture ingress, and running a motor against a mechanical problem for months on end. We cover the non-invasive inspection in a later section, but for now, know that the control board should be part of every quarterly check.
These six checkpoints cross-reference with every brand we service, from FAAC and BFT slide operators to Linear swing arms and Viking actuators. If you want a deeper look at what an operator health check looks like on an electric system, our Electric Gate Repair in Rancho Bernardo page walks through the diagnostic process step by step.
How to Test Safety Reversal Correctly (Most People Get a False Pass)
The most common safety test failure we see is not a gate that fails the test. It is a homeowner who runs the test incorrectly and records a false pass. Here is what actually happens: the homeowner places a small object in the gate’s path, watches the gate stop or reverse, and concludes the safety system works. But the test was invalid because of where and how the object was placed.
A proper safety reversal test has three conditions:
- Test at the leading edge, not the center. The leading edge of a swing gate travels the fastest and carries the most force. Place your test object (a rolled towel, a cardboard box, never a person or animal) directly in the path of the leading edge.
- Test at multiple heights. A photo-eye beam sits at a specific height. An object below or above the beam may not trigger it. Test with an object at beam height, then test with a lower object that only the physical contact edge would detect.
- Test with the gate moving at full speed. A gate that reverses correctly at slow speed may not reverse in time at full travel speed. Run the test multiple times at normal operation speed.
For slide gates, one more test matters: the secondary safety device. Slide gates are required by code to have a contact sensor (usually a rubber edge strip) in addition to the photo-eyes. That edge strip can fail while the photo-eyes still work, so test both independently. Block the photo-eyes and run the gate, then cover the photo-eyes with tape (temporarily) and test the contact edge. A homeowner who skips this test has no way of knowing the backup safety is dead.
For barrier arms, the equivalent test is the loop detector. Drive your vehicle over the loop at normal speed and confirm the arm raises or reverses. Then do it again at a crawl, because some loop detectors miss slow-moving vehicles.
In Rancho Bernardo, many gates are installed on driveways with a slope, which changes the closing speed and force of a swing gate significantly. A gate that reverses fine on a flat test in the middle of the day may behave differently on a hot afternoon when oil viscosity changes and the actuator runs slightly faster. Test in the conditions the gate actually operates under.
Control Board Inspection Without Opening the Panel
You do not need to open the control panel to get meaningful information about the health of your gate’s control board. In fact, for safety reasons, most homeowners should not open the panel at all unless they have experience with low-voltage systems and understand the risk of mains voltage inside the same housing.
Here is what you can check from the outside:
Indicator Lights
Most modern gate operators from LiftMaster, FAAC, BFT, Linear, and Viking have a visible status LED on the control board that you can see through a window or by opening only the outer cover, not the board itself. A solid green light usually means the board has power and is in standby. A blinking red light is a code. Count the blinks: on many FAAC boards, a specific blink pattern corresponds to a specific fault, and that pattern is printed on a label inside the housing.
Error Code Readout
Some operators, particularly newer BFT and Viking units, have a small LCD or LED numeric display that shows error codes. If you see a number or letter code, write it down before you reset anything. A technician who arrives to a cleared error code has lost the diagnostic information. This is one of the most useful things a homeowner can do: record the code, then call it in.
Burn Smell or Discoloration
A control board that is failing often produces a distinct smell, something between burnt plastic and ozone. You may notice it near the operator housing without opening anything. Discoloration around the housing’s ventilation slots is another sign, though it can also indicate dust buildup. Neither is definitive on its own, but combined with a malfunctioning gate, they point to a board-level problem.
Audible Clicks and Relay Chatter
When a gate opens or closes, you should hear a single clean click from the relay as it engages. Rapid clicking, buzzing, or chattering sounds from the control area suggest a relay that is not seating properly, which usually means the board is on its way out. A board with a failing relay may work intermittently for weeks, which is frustrating and can also damage the motor by cycling power rapidly.
Heat Discoloration on the Housing
If the plastic or metal housing around the control area is warped or darkened, that board has been running hot. Overheating is most common on systems that are undersized for the gate leaf or that have been fighting a mechanical problem for months. This is common on Rancho Bernardo gates that were originally installed with a chain-drive opener and later upgraded to a heavier gate leaf without upgrading the operator.
The control board is not a DIY replacement for most homeowners. Low-voltage wiring mistakes can take out the board, the accessory devices, and the motor. Get it diagnosed right the first time, because a misdiagnosis here is the most expensive kind.
Quarterly vs. Annual Maintenance: A Sane Schedule
Most maintenance schedules over-maintain low-wear parts and under-maintain high-wear ones. The goal is not to inspect everything every month. The goal is to inspect the right things at the right interval so you catch wear before failure, not after it.
Quarterly (Every 3 Months)
- Chain or belt tension check on slide gates. This is the highest-wear external component.
- Hinge bolt torque check on swing gates. Bolts loosen from constant cycling.
- Safety reversal test using the correct method described earlier. This is not optional; it is a liability issue.
- Photo-eye cleaning and alignment. Dust buildup on Rancho Bernardo’s dry days reduces beam strength.
- Track debris clearing on slide gates. Grit in the track accelerates wheel wear.
- Listen test: run the gate and note any new sounds. Grinding, squealing, chattering, or humming that was not there before is your early warning system.
Annual (Every 12 Months)
- Full operator inspection, including drive gear check through the inspection port and control board health assessment.
- Limit switch adjustment if the gate’s stopping position has drifted even slightly.
- Wheel and roller replacement on slide gates if any flat spots or rough bearings are found.
- Spring and counterweight inspection on barrier arms.
- Full wire and connection inspection: solar panels on remote gates, low-voltage wire runs, and any conduit exposed to the elements.
- Manual release mechanism function test. This mechanism gets forgotten until the power goes out, and a rusted release is useless at 6 a.m. during a PG&E outage.
Every gate in Rancho Bernardo, from a Ghost Controls DIY unit on a vineyard property to a DoorKing commercial system at an HOA entry, follows this same pattern: quarterly for the high-wear items, annual for the rest. If you are installing a new system and want it set up for maintainability from day one, our Gate Installation in Rancho Bernardo page covers how we design installs with future service access in mind.
Common Mistakes to Avoid
- Lubricating the chain instead of the drive gear. The chain needs light oil, but the drive gear is the component that fails when it runs dry. If your gate makes a grinding sound from the operator housing, no amount of chain lube will fix it.
- Testing safety reversal with a foot or hand. Never use a body part to test a gate’s safety system. A failed reversal mechanism plus a limb in the gate’s path equals a serious injury. Use a rolled towel or cardboard box.
- Ignoring small changes in sound. A gate that starts to whine, grind, or chatter is telling you something specific. Write down what you hear and when. That description is more useful to a technician than “it sounds weird.”
- Clearing the error code before recording it. Power-cycling the operator to clear a fault removes the diagnostic information. Record the code or blink pattern first, then reset.
- Over-tightening the chain. A chain pulled too tight destroys the output shaft bearing, which is a far more expensive repair than replacing a loose chain. Half an inch of deflection at the midpoint is the standard.
- Using the wrong lubricant. Grease on a gate chain attracts dust and grit, creating an abrasive paste that wears the chain and sprocket faster than running dry. Use a light chain lubricant designed for outdoor use.
- Ignoring the gate as a structure. The gate leaf, hinges, and track are not separate from the operator. A sagging gate leaf or a warped track will destroy a new operator just as quickly as it destroyed the old one.
When to Call a Professional
Some gate problems are safe to watch, and some demand immediate professional attention. Call a gate specialist when the gate loses its safety reversal function, when the control board shows error codes you cannot interpret, when the gate is moving at a significantly different speed than before, or when the drive gear or chain has failed and the gate will not operate manually either. Also call if you smell burning near the operator, if the gate starts and stops mid-cycle repeatedly, or if any component shows visible cracking, especially on hinge welds or operator mounting brackets. Do not attempt to service a gate operator while it is powered if you are not experienced with both the mechanical and electrical systems. Gate Repair Rancho Bernardo offers free estimates in Rancho Bernardo, call (855) 532-9392.
Frequently Asked Questions
Gate repair costs in Rancho Bernardo vary based on the system type and the failed component, but most repairs fall into a few categories: sensor realignment and cleaning runs lower on the scale, hinge and wheel replacements are mid-range, and control board or drive gear replacements are the most involved. Swing gate actuator repairs tend to cost less than slide gate operator repairs because the components are more accessible. The best way to get an exact price is to call (855) 532-9392 for a free estimate, since any price we gave you without seeing the gate would be a guess.
We offer same-day service for many gate repairs in Rancho Bernardo, depending on the parts needed. Common emergencies like a failed safety sensor, a gate that will not close, or a broken manual release can often be resolved the same day. If your system is FAAC, BFT, Linear, or Viking, we stock parts for those brands, which means we do not need to order components and wait. Call (855) 532-9392 and tell us the brand and symptom.
We work on nine major gate operator brands: LiftMaster, FAAC, BFT, Linear, Viking, Ghost Controls, DoorKing, Elite, and Mighty Mule. That covers everything from entry-level residential systems to commercial-grade operators, and it includes niche brands like FAAC and BFT that general repair companies typically decline or misdiagnose.
Quarterly for high-wear items like chain tension, hinge torque, safety reversal function, and track cleanliness. Annual for deeper items like drive gear inspection, limit switch adjustment, wheel replacement, and control board health checks. This schedule prevents the majority of failures before they happen and takes about 25 minutes per quarter once you know the sequence.
A grinding noise from a gate operator almost always means the internal drive gear is worn or a bearing is failing. It is not a lubrication problem, and adding chain lube will not fix it. On LiftMaster slide operators and Viking swing actuators, this sound is a reliable predictor of an imminent failure. Call (855) 532-9392 to have it diagnosed before the gear strips completely and leaves the gate stuck.
We handle both. Gate repair as a dedicated specialty means we service the mechanical gate structure, the hinges, the wheels, the track, and the operator and control system together. One call covers the gate and the operator, so you are not coordinating between a fabricator and an automation tech. This is also why our Gate Repair Rancho Bernardo home page leads with the full system scope, not just the electrical side.
Common Mistakes to Avoid
By the time a gate fails, the failure has usually been building for months. Sticking to a quarterly inspection sequence, knowing what a failing component sounds like before it breaks, and testing the safety systems correctly are the three habits that separate Rancho Bernardo homeowners who get 15 years from a gate operator from those who get five. For Gate Repair Troubleshooting: Common Problems and How to Fix Them, see our dedicated guide. The checklist is not about doing more maintenance. It is about doing the right maintenance on the right components, in the right order, before a $40 part failure becomes a $1,400 operator replacement.
Written by the team at Gate Repair Rancho Bernardo, serving Rancho Bernardo since 2013.
See the difference
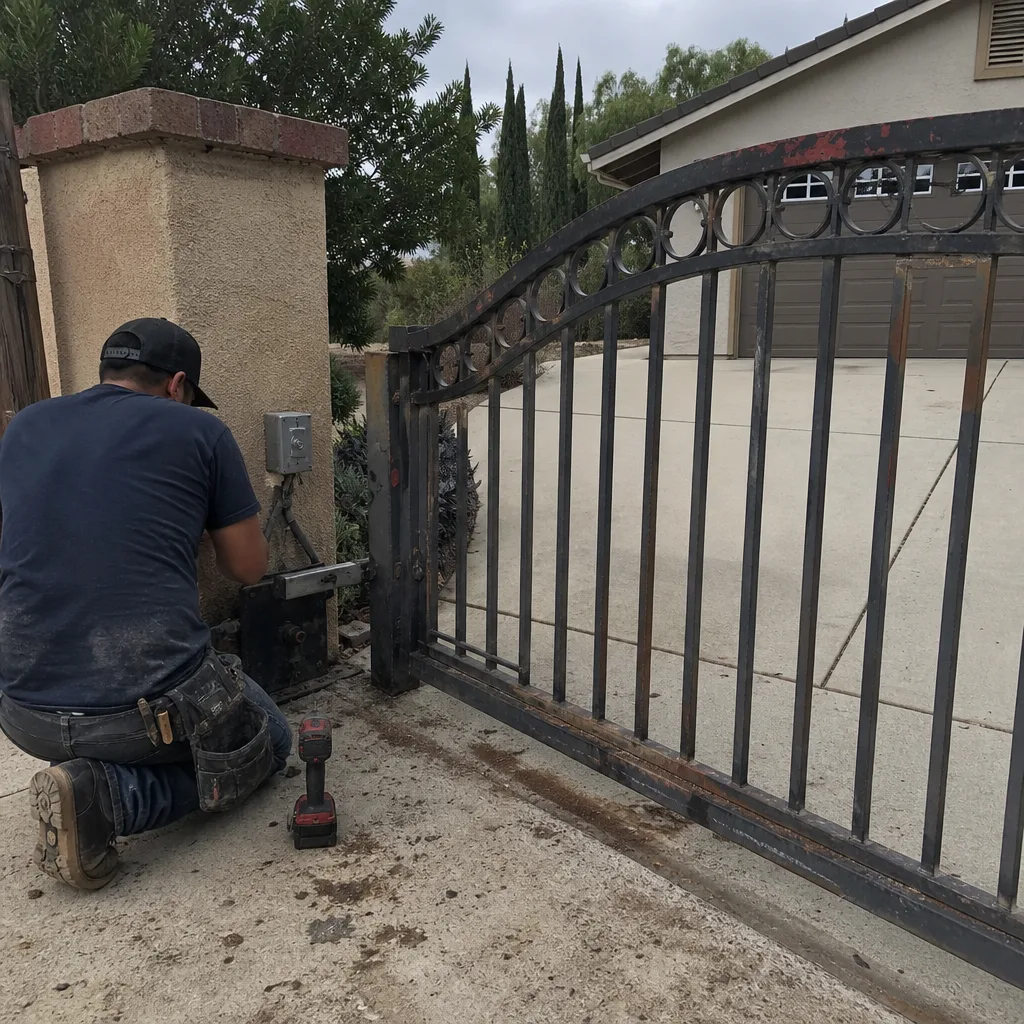 Before
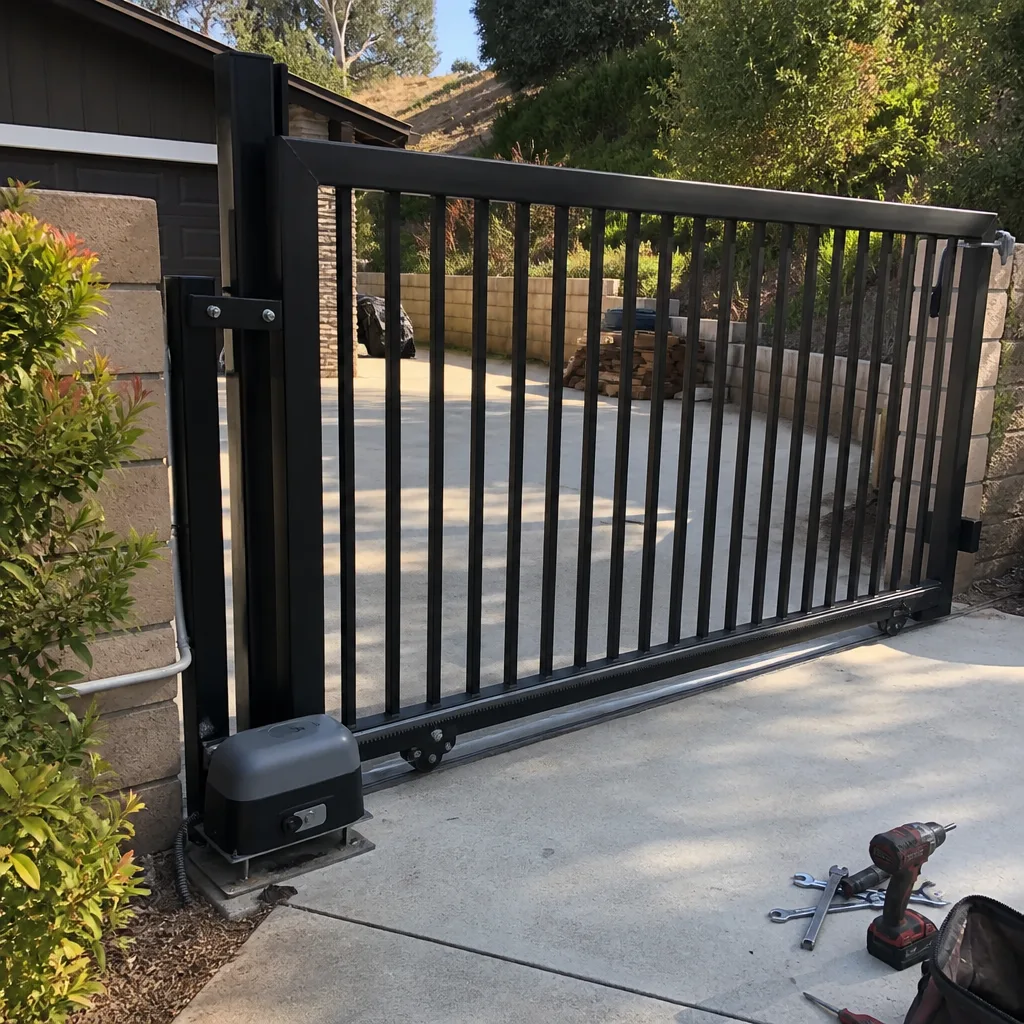 After
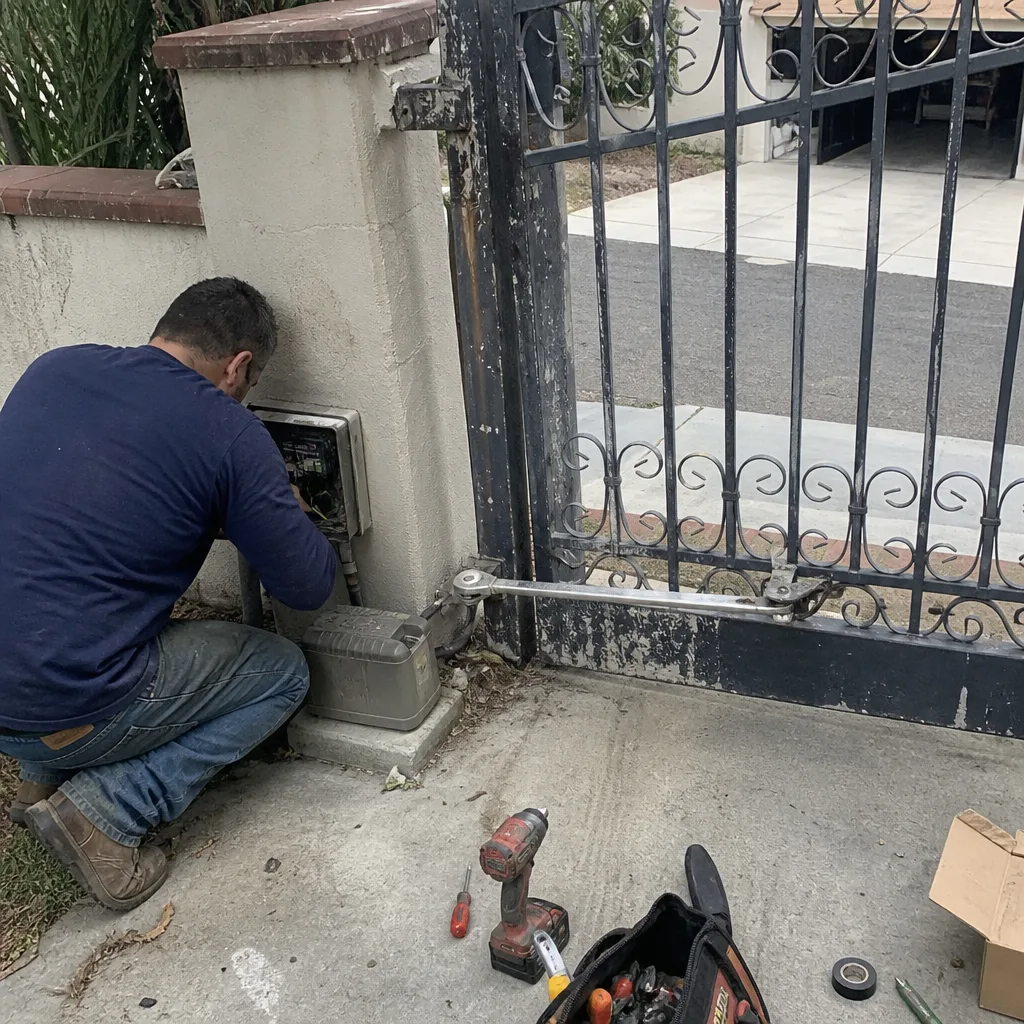 Before
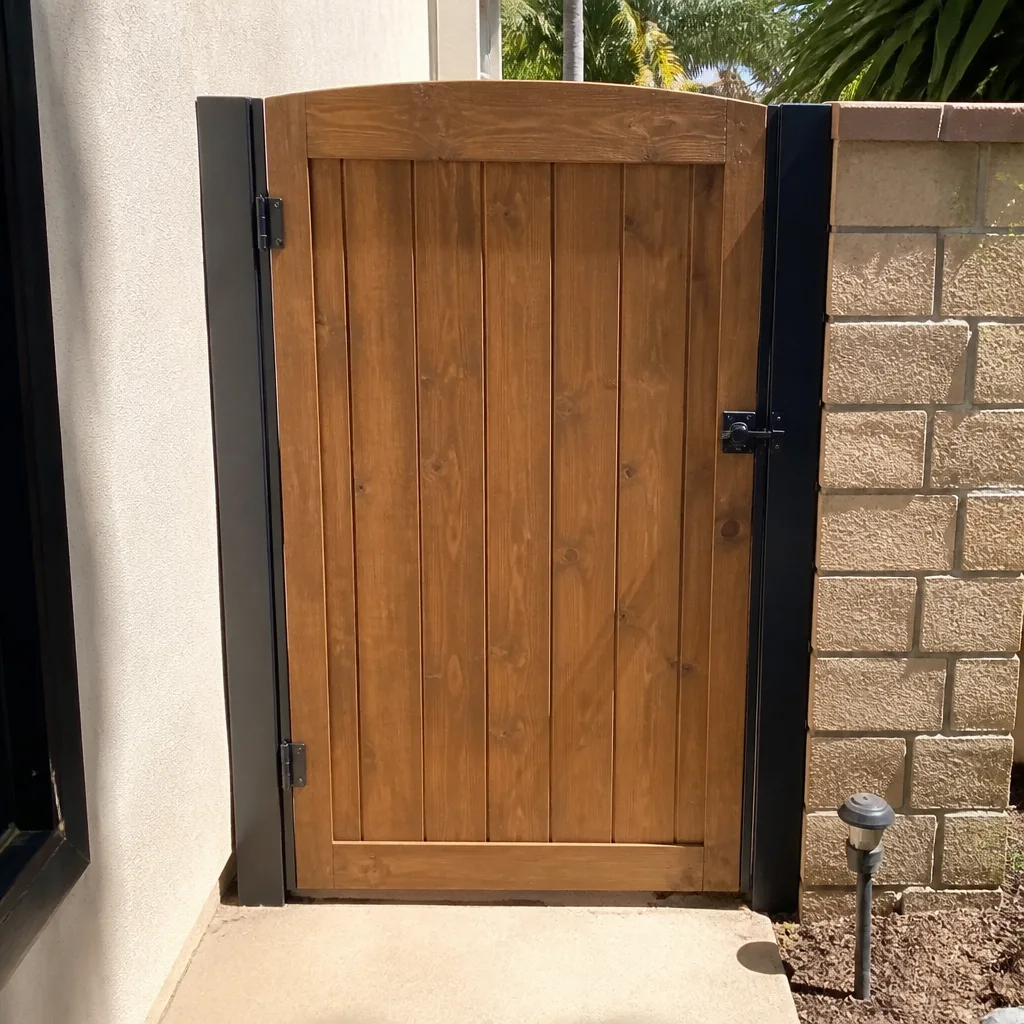 After
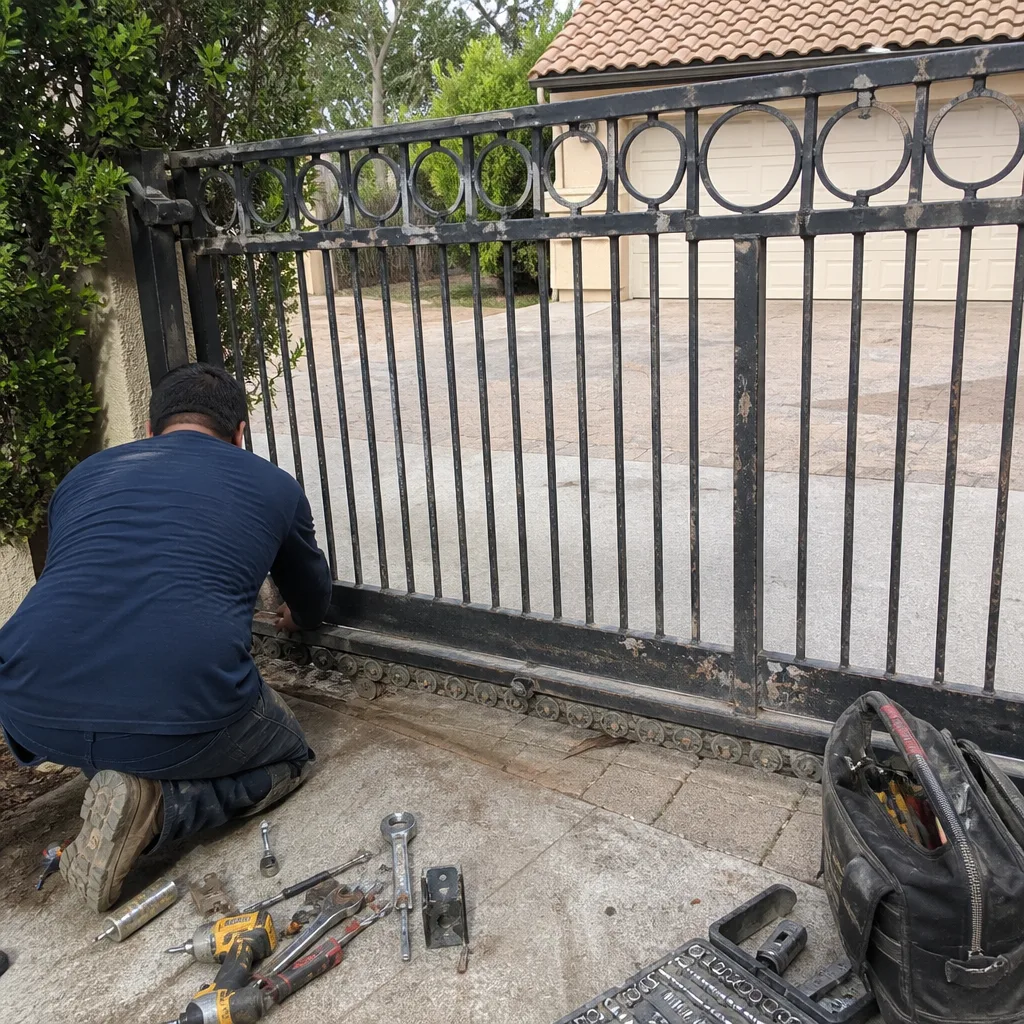 Before
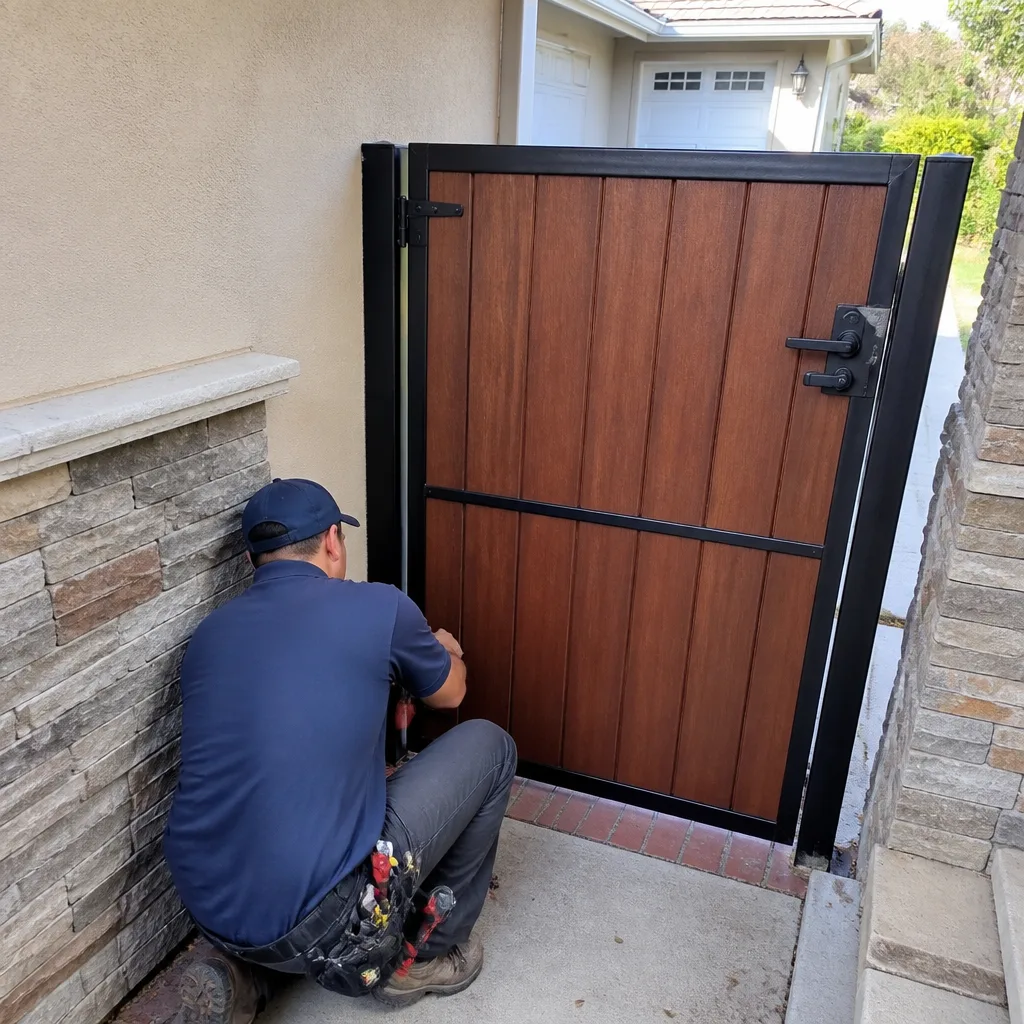 After